

Spring is here, and for many avid gardeners, that means it’s time to start thinking about how to plan and design your garden. Whether you’re a first-timer or have been tending to a garden for years, starting early and having a solid plan in place can go a long way. A well-managed garden brings not only beauty to your home but also provides healthy food for your family. In this post, we’ll share a step-by-step timeline for how to plan your garden, from the early pre-planning stages to the final touch-ups before planting.
I’m gardening in Zone 5b-6a in Denver, Colorado. While most of us here abide by the “not before Mother’s Day” common planting rule, some of us wait even past this. We’ve gotten unusual very late freezes and snows in our area. So the timeframes outlined below may need to be adjusted according to your area’s last frost date.

Step 1: Early February/March – Pre-Planning
Review Last Year’s Garden & Brainstorm New Garden Planning Ideas
One of the critical steps to creating a beautiful and successful garden is to do some early garden planning. February is the perfect time to sit down and sketch out your garden bed, taking into consideration the different types of plants you’d like to include. Look at gardening Pinterest boards and become inspired. Brainstorm and take notes of ideas you like.
When thinking about how to plan your garden, consider the color scheme you want. Decide if you’d like to choose specific plants to attract pollinators and butterflies. Or perhaps you want to focus on herbs and vegetables or even a xeric garden with low water requirements. It’s also good to review what you liked and didn’t like from last year. Maybe you’d like to transplant a few plants into different beds, or think about additions you may want include in your garden planning. This is a great time to brainstorm and research plant options for this year’s garden.
Design Your Garden
This part of winter is also a fun time to design your garden. Being in Zone 5b-6a in Denver, there’s not much that can be done outside in the garden this time of year without a greenhouse. But there’s some anticipation and excitement that comes with starting to think about your garden in the winter.
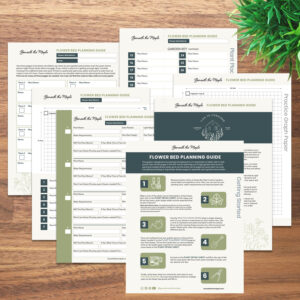
A garden design will also help you to choose which plants should be in which spots. You’ll need to take into consideration how large the plant will be at its mature size and plan spacing accordingly. We offer a Flower Bed Planning Guide garden printable you can download with a handful of sheets and steps lined out to help you plan for the design of your garden. Proper planning not only maximizes the space in your garden but also makes it easy to take care of and maintain.
The design phase is also a great time to consider what your budget is for your garden. The cost of plants and landscaping materials can quickly add up. We have some great tips for creating your garden on a budget if you need ideas for being thrifty. But taking a moment to design what you’d like in your garden will allow you to price out plants and materials before getting started.
Take Inventory
In the early stages of garden planning, it’s also the perfect time to take an inventory of your seeds from last year and figure out what needs to be replaced. There’s nothing I like more than pulling out my seed box and sorting through what’s left from last year!
Or maybe there are tools and equipment that you need to buy or replace, such as a good pair of gloves. I love my Pine Tree Tools gloves for gardening. My hands tend to get hot in gardening gloves and these are breathable yet protective. And when they get wet, they don’t feel soggy. Garden shears and hand trowels are often used on the daily once plants grow in and you’re tending your garden. Investing in high-quality and comfortable garden tools makes the work more enjoyable and efficient.
Organization
If you’re anything like me, your outdoor garden supply area in the garage or shed become very disheveled every year. In fact, that may be putting it lightly! Now is the time to go through your supplies, get rid of things you don’t need and get organized. Do it now, so you don’t have to spend time doing this task when you’d rather be outside tending your new garden.
Start Planting Seeds Indoors
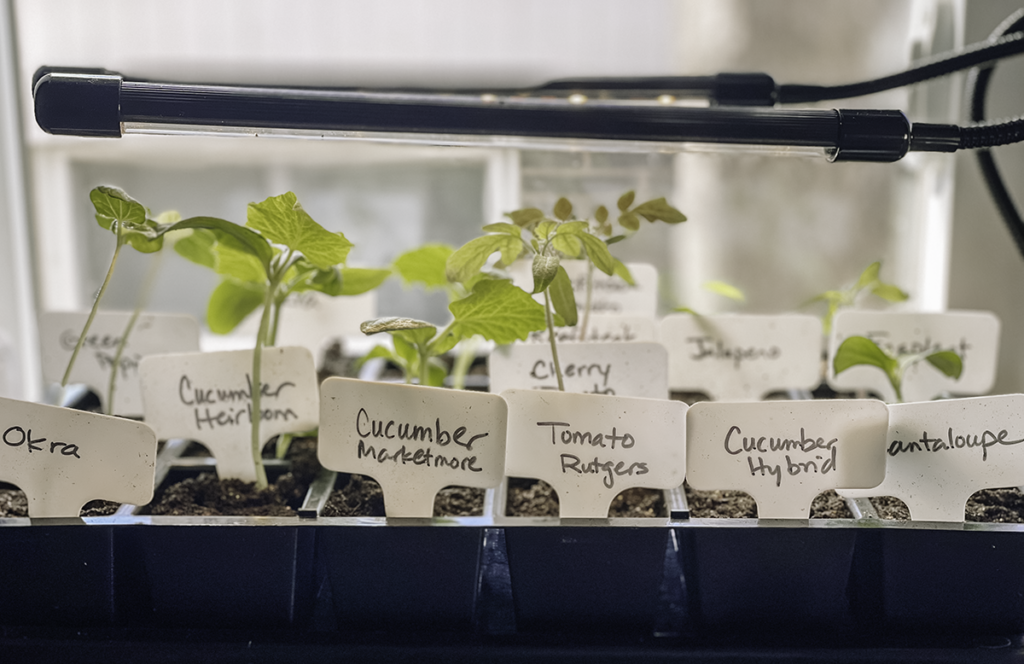
By mid-March, I’m also beginning to plant seeds indoors to get an early start on the growing season. With the help of a few grow lights and minimal supplies, it helps to get a jump start on some of your veggie plants. Not only that, but if you’re able to grow some mature plants early on your own, it minimizes the cost of what you need to spend on plants at local nurseries come May. It’s also a fun way to get your dose of watching something grow when it’s too cold outside to garden.
Step 2: Late March/Early April – Garden Clean Up & Soil Preparation
Garden Clean Up
When sorting through the early details of how to plan your garden, cleaning up garden beds is at the top of the list. Early spring is also a perfect time to clean up your garden from last year’s plantings. I tend to leave my veggie plants and foliage just as is from last year’s garden until about now. Spent plant stalks and plants dried up by winter become great hiding places for beneficial bugs to overwinter until the warmer season. The seeds left on these are also food for wild birds. Not only that, but it adds visual interest in the yard especially during a snow cover. There are a multitude of reasons why putting off this task until next year is great for everyone—especially for me, who by late Fall is too tired to do it anyway!
Make the clean up enjoyable for yourself. On the random sunny days that occur this time of year, go outside and remove old plants little by little. You’ll feel good getting outside in the fresh air and sunshine even on a brisk day. And you’ll feel satisfied that you’re getting a head start on this task. No one wants to leave all of this work until May when you’d really rather be planting flowers and vegetables.
Soil Preparation & Creating New Garden Beds
Tilling the soil is another essential step in soil preparation, which involves breaking it up with a garden fork or tiller to create a loose texture that allows water, air, and nutrients to pass through easily. If I’ve left any fall leaves sitting in the beds, I like to work those into the soil, too. Raking it smooth once tilled is highly recommended to ensure the soil is level and ready for planting. You can also add a compost layer or other organic matter to ensure that the soil is rich in nutrients for healthy plant growth.
It seems like every year I usually add another section or two of a garden bed somewhere. Now is the time to get the materials for this project and start installing it in your garden. The goal is to have all the garden prepping and planning done in advance of when it’s time to plant.
Step 3: Mid/Late May – Garden Planning: Planting
Getting Your Irrigation Setup Turned On
Whether you have a professional irrigation system, a drip line setup or just hoses you use to water again, now is the time to get everything back up and running. Test that there are no leaks and that everything turns on. Get water timers set and adjusted appropriately to keep your garden with consistent water throughout the growing season.
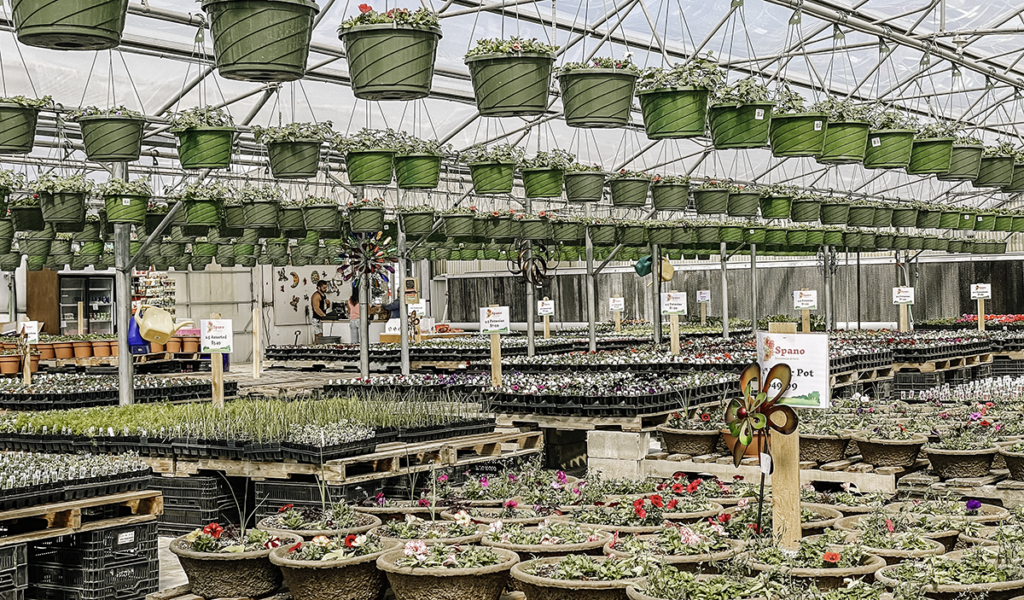
Buying Your Plants
Heading out to your local nursery on a sunny late spring day is a fun outing! However, know that you won’t be the only one with the same idea. I like to go to my gardening centers during the day mid-week if possible, when it’s a bit less crowded. And it’s always a good idea to support your local nurseries and garden centers if you have them nearby. I also like buying plants from online stores like High Country Gardens.
No matter where you buy your plants, consider their light and water requirements and where they are best suited in your garden. And be sure to reference your garden design that you planned back in March to make sure you’re buying the right size for your space.
Also, if you have pets, be aware that some plants are toxic to dogs and cats. I research every plant I buy for my garden online to ensure our dog, Max, is never at risk enjoying our backyard with us. A simple Google search, “is [insert plant name] toxic to dogs” pulls up many resources that identify if the plant you’re buying is toxic or not to pets.
Planting
Everything is finally in place and ready for you to start planting. This is the moment we’ve been waiting for since last fall! At this point, you can start planting new flowers and vegetables in the prepped garden beds. Now is the time to move your seedlings outside that you started indoors earlier in the spring. Make sure you’ve gone through the process of hardening them off before taking outdoors to avoid shock and killing the new seedlings.
You may also transplant perennial flowers at this time into new garden beds. Ensure you consider the plants’ mature sizes and space them accordingly. Follow recommendations on the plant packets or online resources.
Don’t forget to label your plants, so you know what you’ve planted where. This is especially important in the early phases of growth when it’s often difficult to tell which plant is which. Labeling helps you keep track of each plant type, which makes it easier to identify different plants throughout the season.
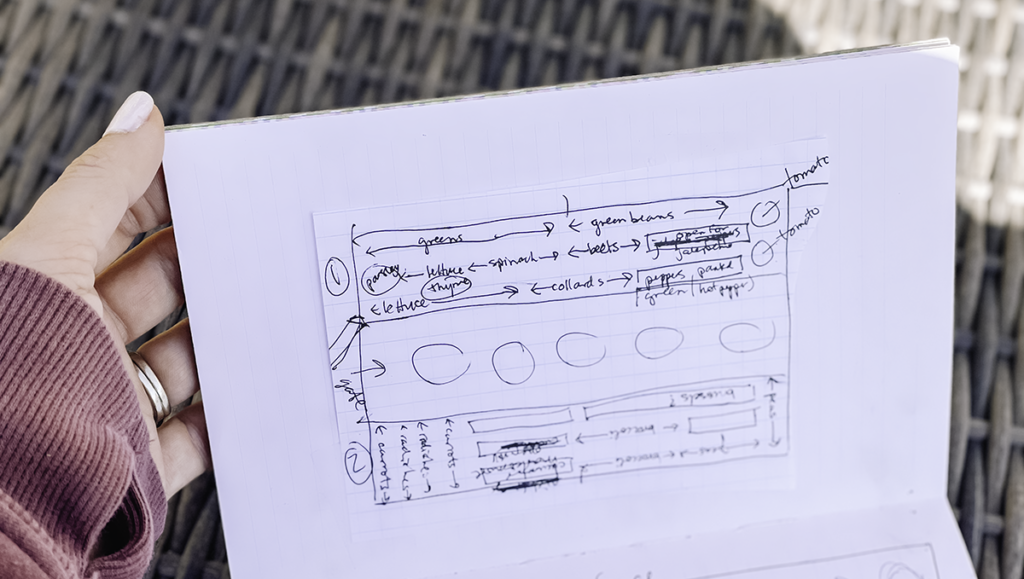
Record What You’ve Planted and Where
Whether it be a notebook or an online Google sheet, take note of what plants you’ve bought and where you’ve planted them. Scan in sketches you’ve drawn out and include this in your document. The plant labels that come with each plant eventually deteriorate. If something does great in your garden and you love it, you may want to buy more! And it will be helpful to have record of what type of plant it is in order to buy again.
Keeping track of the plant types in your garden can also be referenced when there’s a problem. You’ll have the plant name on hand to research potential ways to revive it online. You can learn about whether it needs more or less water or perhaps needs a different light requirement than where you originally planted it.
Step 4: May/June – Maintenance is an Important Part of Garden Planning
Pruning and Care
Once everything is planted, maintaining your garden is an ongoing process. This is why our timeline of how to plan you garden continues well into the growing season. Regular watering, feeding, pruning, and weeding are necessary to keep your garden looking its best. Throughout the summer, keep an eye out for any pest or disease problems so you can resolve them before they spread. Try to establish and maintain a daily garden routine that helps you stay on top of things.
Watering
Keeping your garden watered is a crucial part of maintaining your garden. Watering gradually and deeply is the best way to ensure your plants get enough water. Water your garden in the early morning or late afternoon when the temperatures are low and evaporation is minimized. Feeding your garden with the right nutrients helps to maintain healthy growth, and pruning is an essential step to shaping and training plants. Weeding is also a vital part of maintaining your garden since weeds compete for nutrients and water with your garden plants.
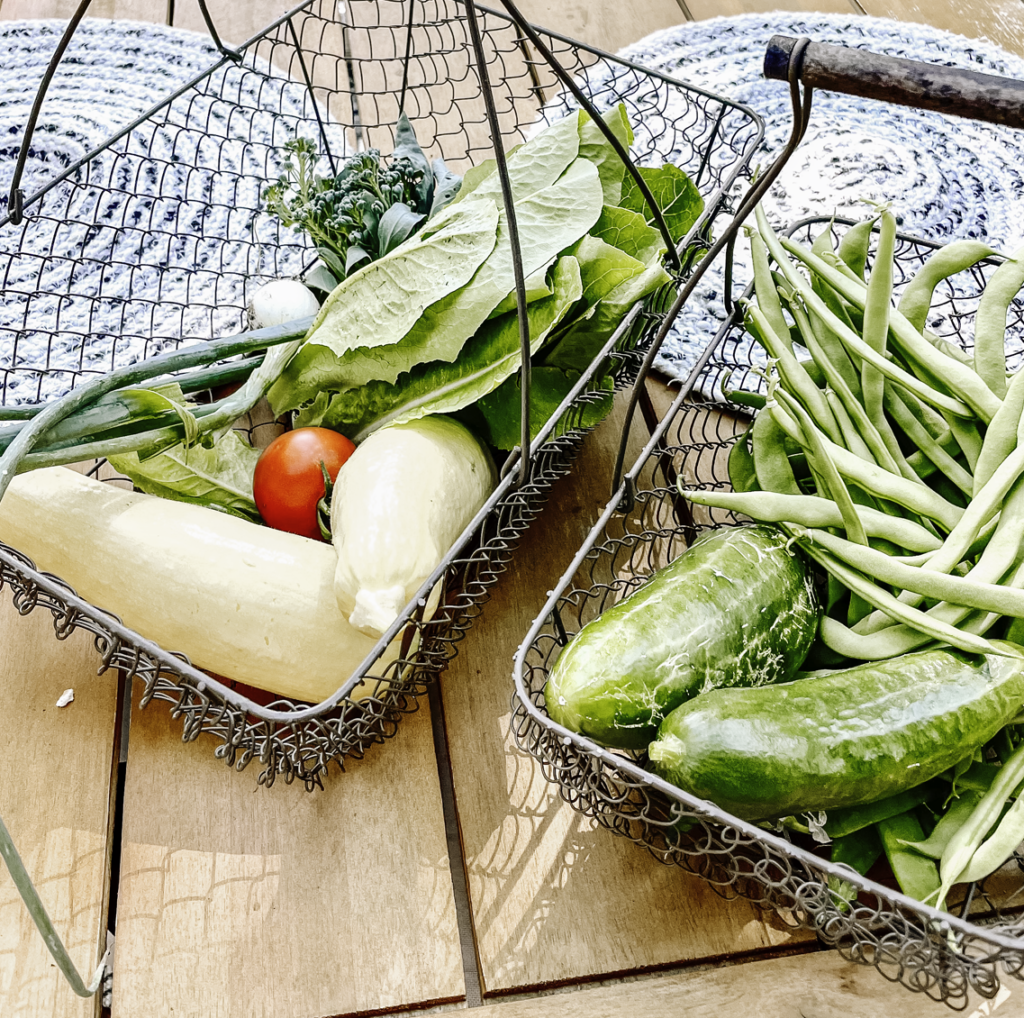
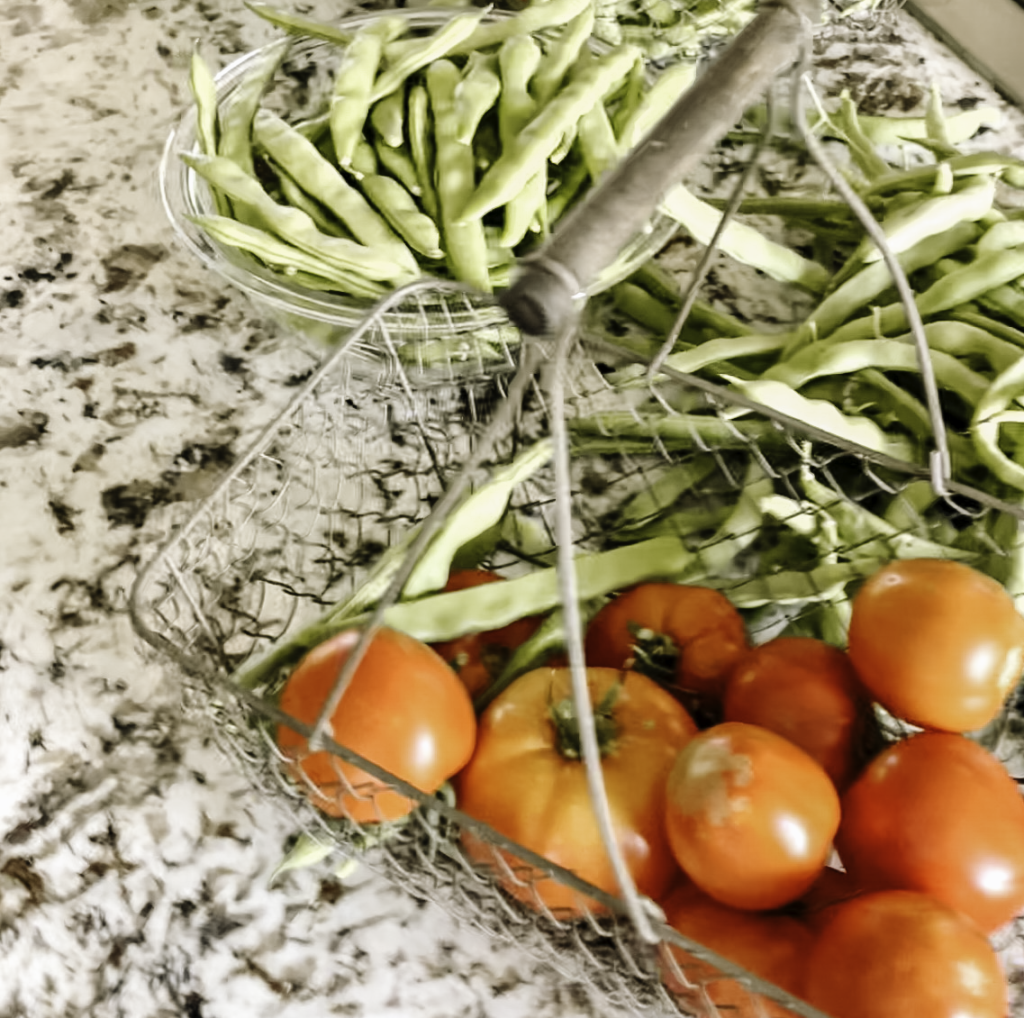
Step 5: July/August – Harvest Time and Enjoy Your Garden
Harvesting Vegetables and Flowers
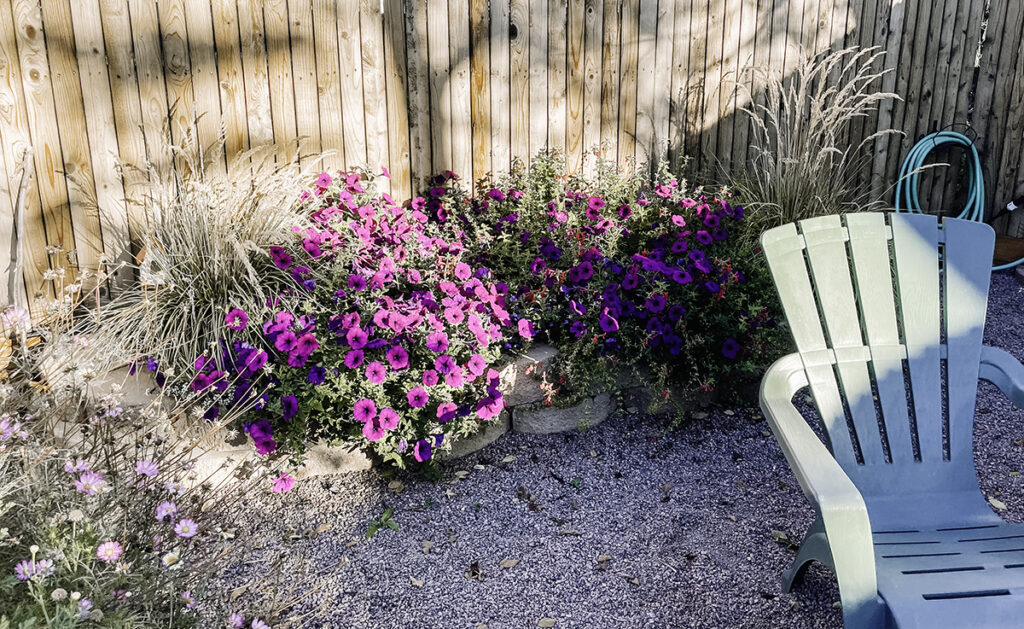
As the summer season hits its stride, it’s time to enjoy the harvest that your vegetable garden yields. Savor the fresh vegetables you grew in your own garden and experiment with summer recipes. Enjoy the flowers you’ve grown. Sit outside and enjoy them. Cut bouquets for enjoying indoors. This is the moment you’ve work towards for many months. We must slow down and literally take time to smell the roses.
Pick off spent flowers from annuals to keep them producing more flowers. This ensures the plant looks beautiful and stimulates further blooms into the season.
Second Crops of the Season
Oftentimes you can get a second yield of cooler climate vegetables like greens, spinach and lettuce. The late July – August timeframe is the perfect time to plant seeds again just in time for harvesting early fall. Check your seed packets and see what you might be able to plant a second time on your area.
Monitor Vegetables and Herbs Going to Seed
It’s essential you harvest your vegetables, herbs and flowers as the plant is producing them. This helps the plant continue to produce through the growing season. When a vegetable or herb starts to flower, it’s a sign the plant is reaching the end of its production. It also can change the taste of the plant (herbs especially) to be more bitter in taste. Consistent harvesting prevents this process from happening as early.
I often notice this on mint, basil and other herbs. If you see these plants flower, cut them off and cut the plant back a bit to see if you can halt this part of its cycle. It tells the plant essentially to keep spending its energy producing more.
Step 6: September/October – Fall Harvest
If you’ve planted any onions, beets, carrots, pumpkins or fall squash, they will be abundant this type of year and ready to pull before first frost. It’s still a beautiful time in the garden as warm afternoons and cooler evenings approach.
It’s the part of the growing I enjoy the most. Usually, I’m slowing down on my energy to “work” so much in the garden by this time of year. And luckily, there is naturally less to do. So the timing seems perfectly planned.


